Authorising the deletion of a Payee.
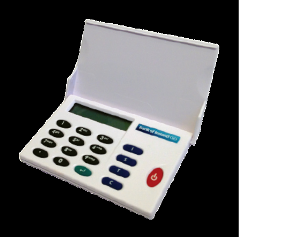
DP550
To authorise the deletion of a Payee, click on the Payee awaiting deletion in the ‘Awaiting Authorisation’ list. After you click on the ‘Authorise’ button, a pop-up box will appear with the following instructions.
1.Turn on your Digipass by pressing the red button.
2.Enter Your 5 digit PIN and press the green button.
3.A message ‘SELECT I or S’ is displayed on the Digipass screen. Press the ‘I’ button once. ‘VERIFY’ is displayed on your Digipass screen.
4.Press the green button to continue. ‘LOGON’ is displayed on your Digipass screen. Press the green button to continue.
5.A 6-digit One Time Password (OTP) is displayed on the screen.
6.Enter this code into the One Time Password field onscreen and click ‘Verify’. You should then be prompted that you have successfully authorised the Payee deletion.
DP250
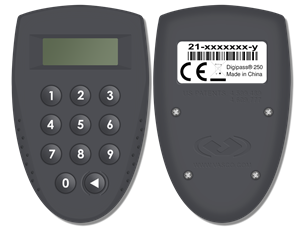
1.Turn on your Digipass by pressing the  button
2.Enter your 5 digit PIN
3.‘APPLI’ appears on the screen of the Digipass
4.Press 1
5.A 6 digit One Time Password (OTP) is displayed on the Digipass screen
6.Enter this code into the One Time Password field on the FXPay screen and click ‘VERIFY’
You should then be advised that you have successfully authorised the Payee deletion.